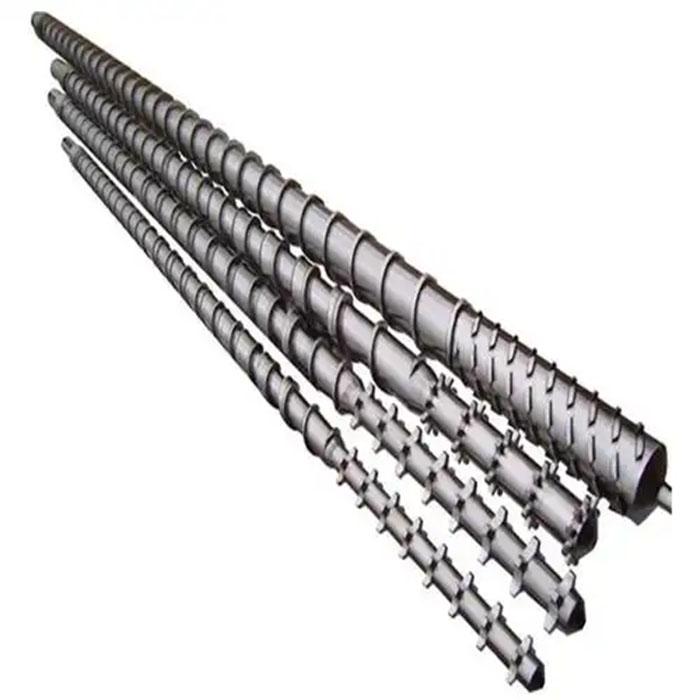
The screw is the heart of an extruder. Maintaining and servicing the extruder screw well is the key to ensuring the output and quality of the product. Therefore, the following matters should be noted.
1.Precautions for screw maintenance
1.1 The extruder screw is not allowed to run idle without adding plastic (the idle running of the cleaning screw should not exceed 5rpm).
1.2 When cleaning the screw, it should be leveled and stabilized. Do not allow the screw to rotate to avoid damage to it.
1.3 It is strictly prohibited to add metal items or other sundries into the barrel to avoid damaging the screw.
1.4 When the temperature is too low (the heating temperature has not reached the lower limit of the process temperature or the holding time has not met the specified requirements), it is strictly prohibited to start the screw.
1.5 When using screw cooling water, water cooling should be stopped when the temperature drops significantly and is relatively low.
1.6 It is necessary to cut off the water supply when the machine stops.
1.7 Regularly clean the screw. When cleaning the screw, it is strictly forbidden to use metal tools to strike it.
1.8 When the screw is placed for a long time, it is best to hang it vertically.
1.9 When placed horizontally, it should be placed on a support with at least three support points to prevent the screw from bending due to gravity.
2.Precautions for screw cleaning
2.1 When cleaning the extruder screw, it is often necessary to load and unload it, but the barrel is sealed and it is impossible to open the barrel to carry out the cleaning.
2.2 First, all the plastic stored in the barrel must be completely drained.
2.3 Then, remove the die head and push the screw out from the upper push bearing by adjusting the push rod (during the process of pushing out the screw, it is strictly forbidden to strike the root of the screw hard).
2.4 Slowly take out the screw from the connection between the machine body and the die head, that is, the discharge port at the front edge of the machine body.
2.5 For larger screws, after about one-third of them have been removed, they should be promptly and steadily placed on the screw support cart.
2.6 Then completely remove the screw to prevent the front end of the screw from tilting and colliding with the casing or falling to the ground.
2.7 When cleaning the screw, it is strictly prohibited to damage the screw with hard metal.
2.8 When installing, the sequence is reversed. That is, the screw is slowly inserted from the discharge port of the front barrel on the bracket vehicle.
2.9 After contacting the thrust bearing, the bearing should be rotated to fit well with the screw, and then the screw is pushed into the thrust bearing.
2.10 Finally, the die head is installed. The nose and the body of the machine must be tightened tightly, and the nose should be evenly and reliably pressed against the mesh plate.
Proper screw maintenance and cleaning are key to stable extrusion and product quality. Follow precautions to avoid damage and extend service life.
NOTE:All rights reserved, Reprinting is prohibited without permission.